Jewelry Photography 101: How to Create Images That Sparkle Online

A picture is worth a thousand words… so make pictures a part of your marketing strategy! An essential part of successful e-commerce branding is a beautiful presentation of your brand, and the right jewelry photography can improve your business by attracting people to your website. Even if you’re not a professional photographer, you can still capture awesome, high quality images. We’ve put together a guide to all the equipment, tools, and techniques you need to get the best images of your stunning jewelry and repair work.
Why Do I Need High Quality Product Images?
Consumers want to feel confident in their purchases, and photos are a way to ensure that they know what they’re getting. 60% of online shoppers have abandoned a transaction because a product didn’t have photos or a customer review, and 83% of consumers say they’re “extremely influenced” by the photo of a product. Since visuals matter so much to consumers, your brand should take advantage of social media platforms like Instagram that highlight photos and make them easily shareable. You’ll be able to target your audience directly, and lead them to your website for more imagery that really pops.
Get the Right Jewelry Photography Tools
Let’s start with the basics. Producing stunning, high quality images doesn’t have to be expensive, especially when you do it on your own. In fact, you might have everything you need already.
Camera equipment
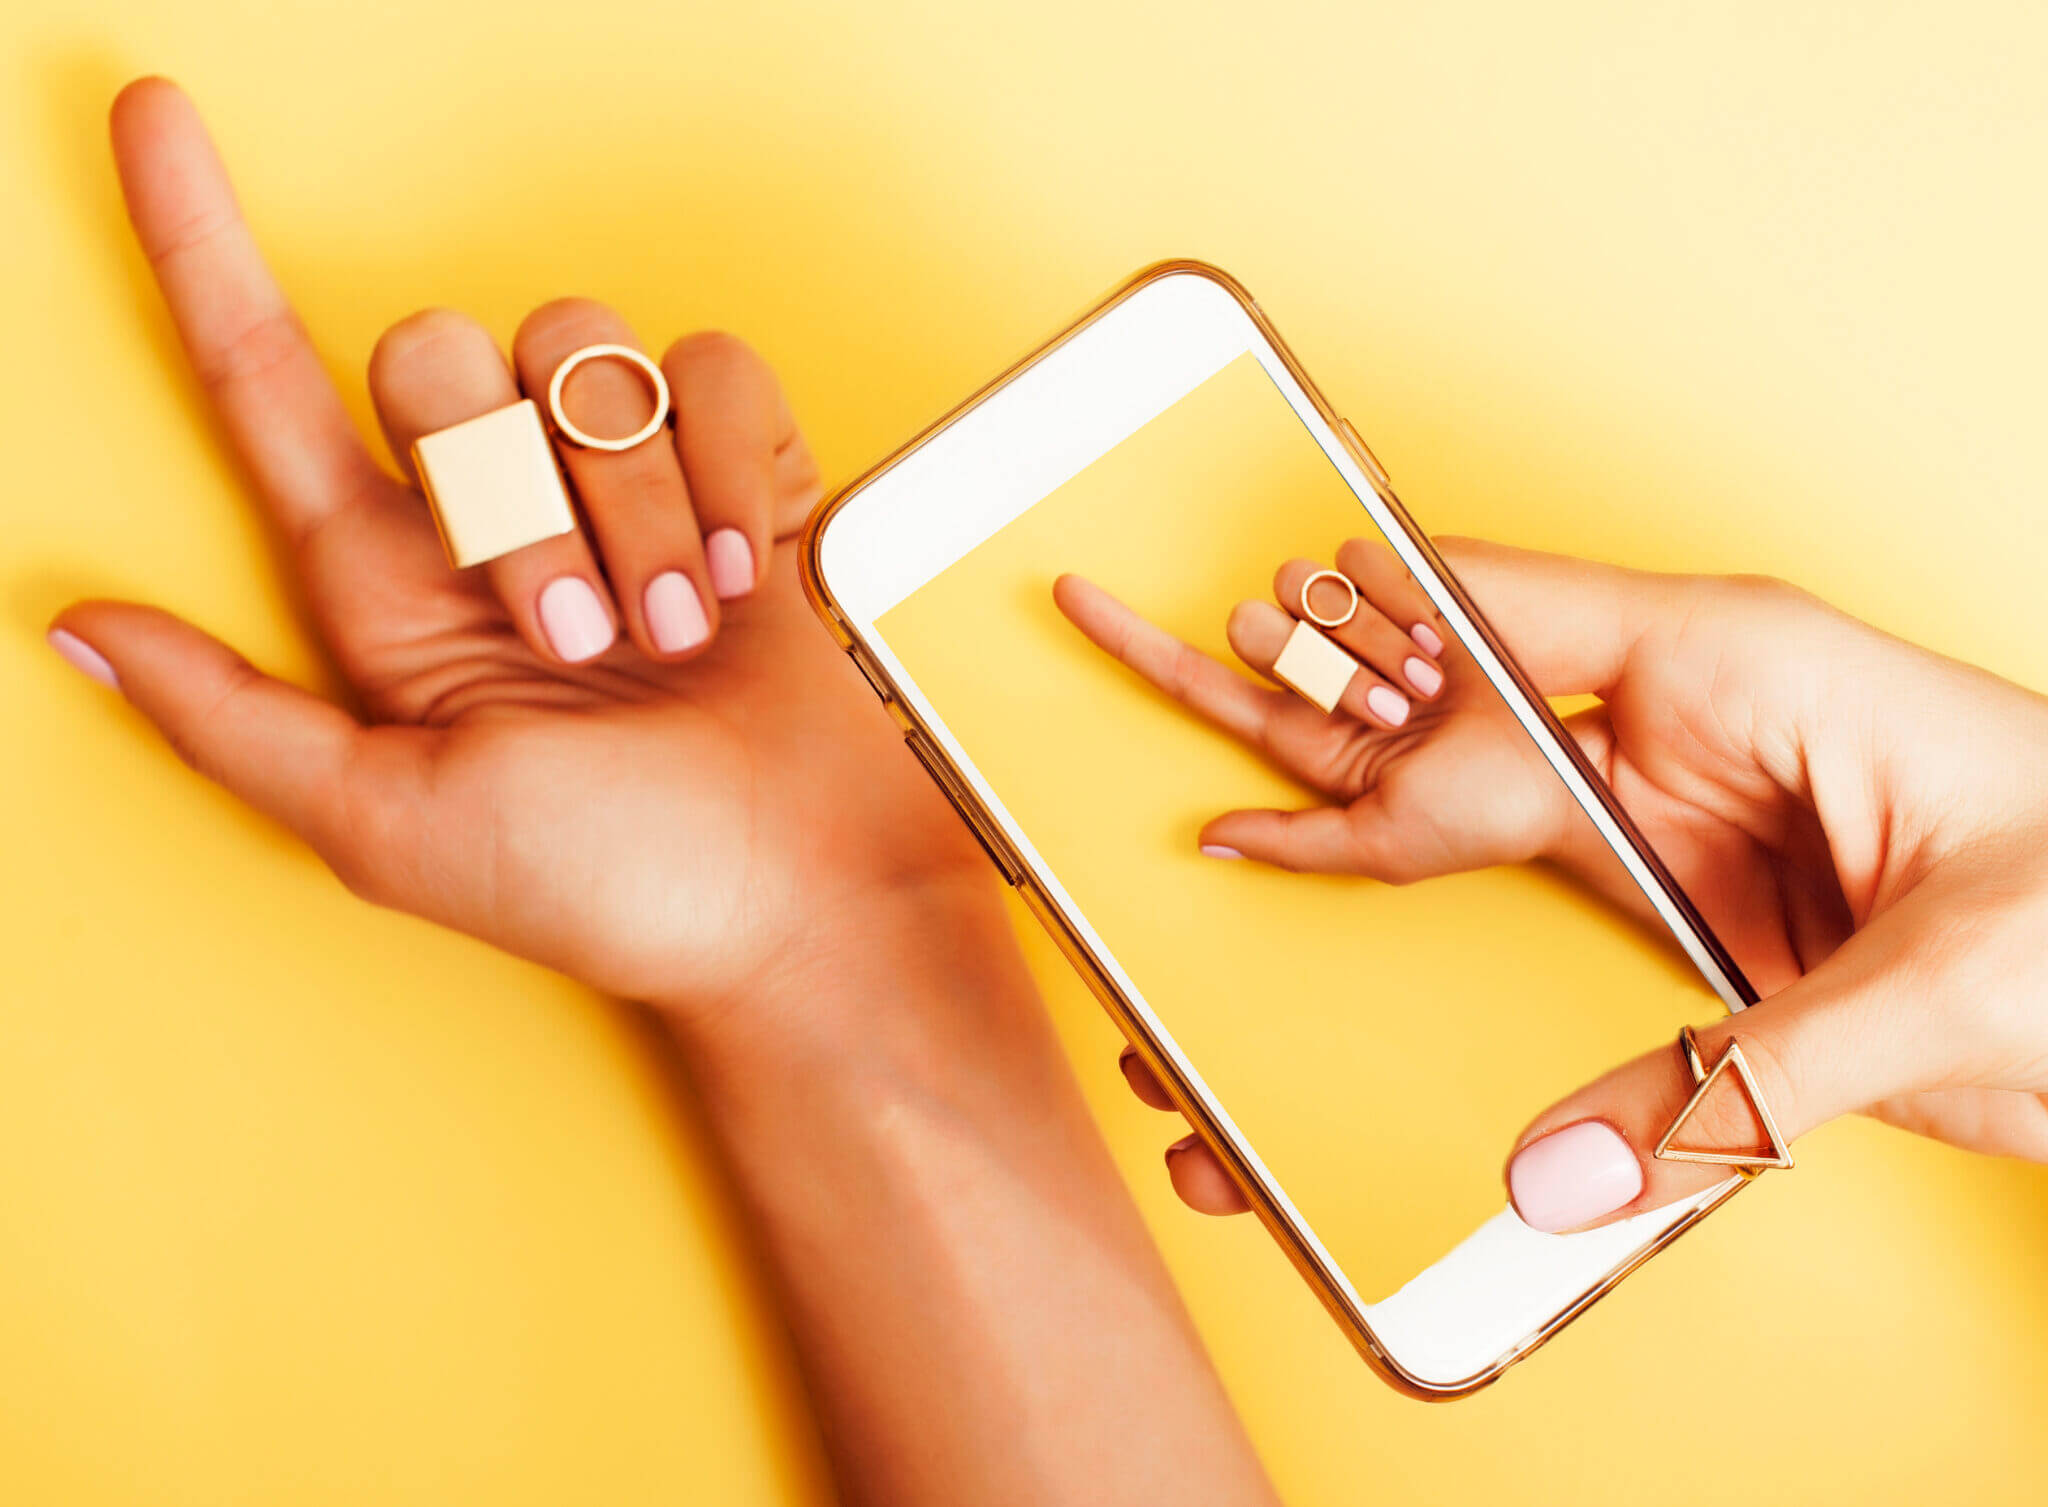
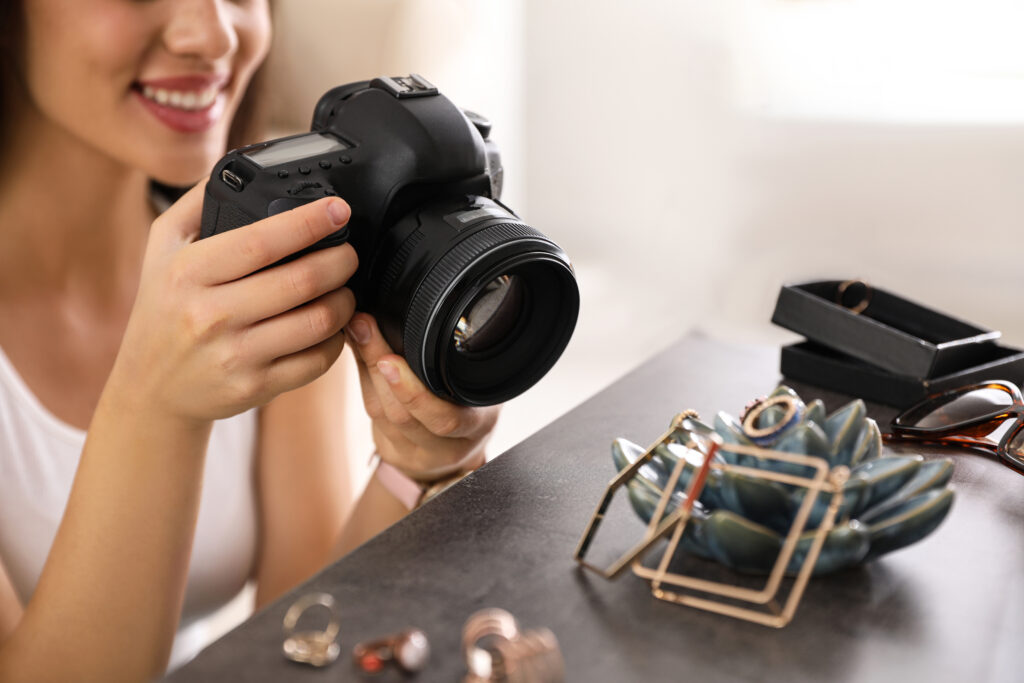
A camera that you can count on is important. The great news is that you don’t need to invest in an expensive camera to get expensive-looking results; most modern smartphones have excellent camera functionality. Search online for smartphone photography tutorials that can help you learn to set up your shot.
You’ll also need a tripod or something steady to support your camera while you’re taking photos. Holding your camera by hand can decrease image quality; if your hands shake or your angle accidentally changes, you can end up with inconsistent or blurry photos. To minimize the potential for mistakes, use a tripod that fits your camera or attaches to your smartphone. That way, you can worry about composing the perfect shot instead of stressing about what’s happening behind the camera.
Photography editing software
Editing is an important part of the photography process. With editing software, you can change backgrounds, apply filters and effects, add your logo or watermark, and much more. This step is what makes photos stand apart and look extra polished. The software you choose doesn’t have to be fancy, expensive, or difficult to use. Canva is a great option; you can get a free account and find all kinds of ways to make your photos come to life. There’s also Adobe Photoshop, Pixlr, Fotor or Snapseed. Read about each app to find out which works best for you and your creative goals.
Strategic lighting fixtures
Lighting sets the mood of your photos by influencing things like contrast, shadow, brightness, and glare. To find the best lighting for your photography session, play with combining natural light and external accessories. Ring lights, which are portable and made to mimic professional studio lighting, are an easy and accessible tool. Reflective surfaces are a great way to adjust shadows and bounce light around a room, too. If you want to get a great lighting source on a tight budget, you can also produce excellent photos with a flashlight.
Backdrops
An intentional backdrop is another way to create a consistent tone around your photos. White backdrops are popular for retail products since they’re easy to control — patterns and colors can be distracting and make it harder to get perfect placement with every piece of jewelry. You can easily make a white backdrop with a bed sheet draped over a chair or table, or just find a blank spot on a wall or desk. You can also get creative with mirrors, textured surfaces, or objects that highlight the jewelry you’re photographing. Just make sure you have a controlled background instead of trying to work with a cluttered, messy, or inconsistent one.
Models
You can be your own model, hire professionals, or recruit your colleagues and friends. If you’re working with someone who is camera shy, put them at ease by cropping their face or identifying features out of the shot. You can also use jewelry stands to showcase your products instead of showing them on live models. Mannequins are always an option, but your set doesn’t have to be that elaborate unless you want it to; this is a chance to get creative. Try laying a sparkly necklace over a jewelry box to get an idea of the piece’s depth and angles, or drape a neutral fabric over a stack of books to show a group of bangles standing upright instead of laying flat.

Take the Best Jewelry Photos in 7 Steps
Contrary to popular belief, taking exceptional photos doesn’t necessarily require a degree in photography. You can always outsource the job if you’d like to hire someone with lots of experience, but you don’t have to be a pro in order to get high quality images on your own. Here are some basic steps you can take to ensure that you get the right shot.
- 1. Style the Shot
Imagine the end result; think about which elements of the jewelry you want to highlight, like size, scale, color, dimensions, or sparkle. Plan out multiple shots to provide context, whether you’re photographing a single product, a whole collection, or before and after shots of a repair service. Getting clear on your concept before you start shooting will lead to the best possible outcome.
- 2. Work the Angles
Finding the best angles of a product is essential to show how a product will look off the screen; one pitfall of online shopping is that customers can’t see the product in real life. You can take aerial shots, wide views, and closeups, and don’t forget about the more obscure angles. Get inside the band of a ring, take a shot of the necklace clasp, or show the backing of an earring. It’s best to get as many options as you can to help your customers have an accurate sense of your jewelry. Give ‘em the details.
- 3. Light It Up
Think about where to place your lighting to create the best optics. You can play around with the placement of lighting for this step — you might notice that one light overhead creates too many shadows on your jewelry or that you want a few different sources of light from several directions. Take some test shots to determine the best lighting position for your products. Be patient with yourself; this can take practice.
- 4. Focus (the Lens) on What’s Important
Adjusting the focus of a shot is a simple technique with a big impact; it allows one object to be the center of focus while the background blurs, or vice versa. You can do this using your camera’s focus features while you’re taking the shot, or adjust focus after the fact with photo editing software. Playing with focus can heighten the dramatic effect of your photography (and make it look really professional, too).
- 5. Pay Attention to Consistency
Having a consistent look throughout all your photos communicates professionalism, and outliers will stand out once all your product photos are grouped together on your website. Try your best to stay consistent by capturing similar angles for every product or service you’re photographing. For example, if you have a closeup shot, a model shot, and an aerial shot of one item, your customers will probably want to see each of those angles for your other jewelry as well. Jotting down notes can help you keep track; make note of the aperture, lighting settings, or distance from the camera if possible.
- 6. Get Lots (And Lots) of Options
Did you get a great shot? Awesome, now don’t stop there! Once you’ve found a style, placement, or technique that looks good, keep going. Take as many photos as you can with little adjustments to see what works best; one of the benefits of digital photography is you can take as many shots as you want and you’ll never run out of film. Try messing around with the previous steps like lighting, style, focus, or angles so that you have plenty of images to choose from when you’re done shooting.
- 7. Edit the Photos to Your Liking
Finally, upload your photos to your computer, pick your favorites, and fire up your editing software of choice. Color adjustment and cropping tools will help you polish each photo to perfection and make sure you’re accomplishing the effect you envisioned in step one. You can also use watermarks, logos, backgrounds, or filters to get a unified look that matches your jewelry company branding.

Now Go Post Your Photos
Now that you’ve got a dazzling collection of jewelry photos, it's time to put them to work. Let your pictures do the heavy lifting of capturing consumers’ attention, driving people to your website, and encouraging customers to complete their purchases.
Great photos aren’t just important for product sales; getting great shots of your jewelry repair services can make your online shop really pop and help consumers understand the work you’re doing. Before and after images will also give your customers a sense of your company’s credibility. Reshyne’s jewelry repair management platform makes it easy to seamlessly integrate your jewelry photos and custom branding for a professional and cohesive e-commerce experience. Schedule a demo today to learn how Reshyne can help you get the most out of your jewelry and watch repair services.

